How To Grow Moss On 12 Different Surfaces Step By Step
How To Grow Moss On 12 Different Surfaces? People are always looking for new, creative ways to spruce up their homes, and using moss is definitely one of those ways. Moss can be great for adding texture and color to your garden without having to spend too much money.
It’s very simple to grow moss! and it can grow on a number of different surfaces when you know the right technique!
Moss also requires very little maintenance and doesn’t need a lot of water like most other plants. So if you’re looking for something that not only looks good but will hold up against the elements then this article is for you.
We will be going over how to grow moss on not one but “Twelve” different surfaces! and also walk you through some of the steps and important things you need to keep in mind when you’re growing moss.
1. Growing Moss On Wood
Moss is a type of plant that can give any wood surface a rustic, aged look. It’s a natural way to add some character to your outdoor wood furniture. Plus, it’s relatively easy to do! and costs very little money.
To grow moss on wood, you’ll need to start by choosing the area where you want it to grow!
Whether it’s a wooden bench, door, fence, or just a piece of wood the method is the same!
There is no need to clean the wood first, in fact, it’s actually better if there’s a little bit of dirt and grime build-up.
Once you’ve selected your spot all you need to do is follow these steps set out below!

To Grow Moss On Wood, You Will Need:
- Moss Spores
- Selected Spot
- Buttermilk Or Yogurt
- Spray Bottle Filled With Water
Directions To Apply Moss To Wood:
- Break To Moss Into Small Pieces
- Mix It With The Buttermilk Or Yogurt
- Apply The Moss To The Wood
- Spray With Water (If Needed)
Depending on the size of the area you want to cover in moss you should start with at least a handful full of moss. Once you have all the items listed above, you can start by breaking up the moss and then mixing together the buttermilk or yogurt in a bowl.
You can apply the moss to the wood in one piece but, for best results, it’s recommended that you tear it into smaller pieces.
Once it’s mixed into a paste you can then, use a paintbrush to apply the mixture to the area. You will notice that the buttermilk or yogurt whichever one your using acts as glue and should stick nicely to the wood.
After the moss is applied to the wood, natural will do the rest! However, if you live in a hot climate and the moss starts to dry use the spray bottle to mist it down.
Take Note: Make sure you don’t water the moss straight away as this can cause the buttermilk or yogurt to become watery and it won’t stick to the wood.
Keep the area moist for the next few weeks but not soggy! This can cause it to “ROT” just until the moss takes root and starts to grow!
You May Also Like To Read:
2. Growing Moss On Concrete
Moss is the perfect plant for anyone who wants to add a touch of nature to their concrete. Putting moss on your concrete walls can make a big impact and it’s really easy to do!
The best thing about growing moss on concrete is that it’s very versatile and you can use any type of moss you want! However, you should go with the types that are known to grow on hard surfaces like concrete!
If you decide to go with this option, it’s important that you select an area that gets partial sunlight and has good drainage.
You also need to consider the time frame! Some mosses can grow extremely slow!
With that said, buttermilk and yogurt also act as a fertilizer for moss and can help speed up the process!

However, after a couple of weeks, you can add things like fertilizer, or plant feeders to help the moss along and give it a jump start in its growth!
Just like with wood surfaces, you don’t need to clean or prepare the concrete first. All you have to do is gather your supplies and get started by following these simple steps!
To Grow Moss On Concrete, You Will Need:
- Selected Spot
- Large Piece Of Moss Or Spores
- Buttermilk Or Yogurt (Optional)
- Paint Brush For Delivery
Directions To Apply Moss To Concrete:
- Wash Down The Wall With Water
- Place The Moss Directly On Top
- Water Again (If Needed)
- Wait For The Moss To Take Root!
If your applying moss to a no vertical surface then using buttermilk or yogurt is optional. If the sheet of moss you have is big enough simply wash down the wall with water so it’s damp then place the moss on directly top of the concrete and wait for it to take root!
For vertical surfaces, like walls, you will need to mix the moss with buttermilk or yogurt so it can stick to the wall.
To start with, using the same method as with wood, break up the moss into small pieces and then mix together the buttermilk or yogurt in a bowl.
Once the moss is mixed you can use a paintbrush or your hands to apply the mixture to the concrete! Nature will do the rest! And that’s it! So there are just two of the easiest and most common surfaces you can grow moss on!
3. Growing Moss On Grass
This option is great if you looking for a way to add some extra pizazz to your lawn! While it may not be the traditional route, growing moss on grass (Moss Lawn) can actually be quite easy!
Because moss has no roots, it doesn’t need to be planted in soil. This means that you can grow it directly on top of your grass without any problems!
You will need to make sure that the area you’ve selected gets partial sunlight and provides plenty of shade.
Picking an area that has plenty of shade is very important! This is because certain types of moss don’t do well in direct sunlight.
Too much sunlight can cause the moss to dry out and eventually die!
You also need to make sure that the area you’ve selected has good drainage. If there’s standing water, it will most likely kill the moss.
Now some people would say you need to check the pH rating of the soil in order for the moss to thrive! And although this may be true for growing plants and grass! For moss, it’s not!
This is because most people think of the moss as rooted plants when in fact, they are not! which means they don’t need soil to grow and thrive!
However, if your grass is looking slightly unhealthy and you’ve tried everything then it could be because of the ph levels in the soil! A healthy pH rating should be 5.5. If it is slightly higher, you can lower the pH using sulfur.
So, once you’ve found the perfect spot, simply gather your supplies and follow these easy steps!
To Grow Moss On Grass, You Will Need:
- Selected Spot
- Some Moss Spores
- Fertilizer Or Plant Feeder
- Water Can Or Hose
Directions To Apply Moss To Grass:
- Dampen The Grass With Water
- Place The Moss Directly On Top
- Add Ferilizer Or Plant Feeder
- Wait For The Moss To Take Root!
Take Note: Fertilizers are a great way to enhance the natural fertility of the soil. At the same time it also improves the growth of the moss.
To start with, using a watering can or hose gives the grass quick going over! Then tear the moss spores up with your hands and spread them over the area of grass you want to cover.
Then, using the fertilizer or plant feeder, sprinkle it over the moss. Once you’ve done that all you need to do is sit back and wait for the magic to happen! It’s that simple!
4. Growing Moss On Glass
One of the best things about growing moss is it can grow on any surface and this includes surfaces like glass! Not to mention, it can really transform it into something unique and special!
Growing moss on glass can be a bit tricky but with the right supplies and some patience, it can be done!
Because glass has a slippery surface it’s going to be hard to try and stick to moss to the glass while it’s vertical.
If you’re trying to grow moss on a window say then it’s a good idea to take it off the hinges.
You also need to consider that if it rains there is a good chance it will wash the moss spores away before they have a chance to take root!
To avoid this, you can grow the moss on the windowpane while it’s lying flat on a table or another surface. This method can be used on any glass surface! So if you want to grow the moss over a glass jar then the same steps apply!
To Grow Moss On Glass, You Will Need:
- Selected Type Of Glass
- Some Moss Spores
- Buttermilk Or Yogurt
- Fertilizer Or Plant Feeder
- Paint Brush
Directions To Apply Moss To Glass:
- Place The Glass On A Flat Surface
- Break To Moss Into Small Peices
- Mix It With The Buttermilk Or Yogurt
- Apply The Moss To The Glass
- Spray With Fertilizer
The first step is to gently lay the glass on a table, then following the same method as before, with wood and concrete take the moss spores and break them into small pieces.
Mix these with some buttermilk or yogurt until it forms a paste-like consistency. Once you have done this, apply the mixture to the glass using a paintbrush.
Once you’ve covered the entire surface, lightly spray it with some liquid fertilizer and put it in a location where it will get some sunlight. Keep spraying the moss with fertilizer daily and you should start to see some growth within a few weeks!
Once The moss has its hold on to the glass you can then place it back outside it should be strong enough to survive from the sunlight and rainwater at this point!
5. Growing Moss On Plastic
Plastic is another tricky one to grow moss on. This is because plastic is similar to glass in the sense that it’s very hard for the moss to stick to.
In order for this to work the same steps apply as growing moss on glass. However, instead of using a flat surface like glass, we will be using a plastic bowl and naturally get the moss to grow around it.
This is a lengthy process and you may need to trim back the moss at times as it grows but the result are well worth the wait.
In fact, most moss growers use plastic bowls as a way of growing the moss from scratch! Once the algae have colonized the surface of the plastic, it can then be carefully removed and transplanted to their new habitat.
The first step is to select a suitable plastic container for your project. It’s important that the container has a lid to keep the moisture inside. Once you’ve done this simply follow the steps below!
To Grow Moss On Plastic, You Will Need:
- A Plastic Tub
- Some Moss Spores
- Fertilizer Solution
- Spray Bottle
Directions To Apply Moss To Plastic:
- Place The Moss In The Plastic Tub
- Spray It With The Fertilizer Solution
- Placing The Moss In A Well-Lit Area
- Mist With Water Daily
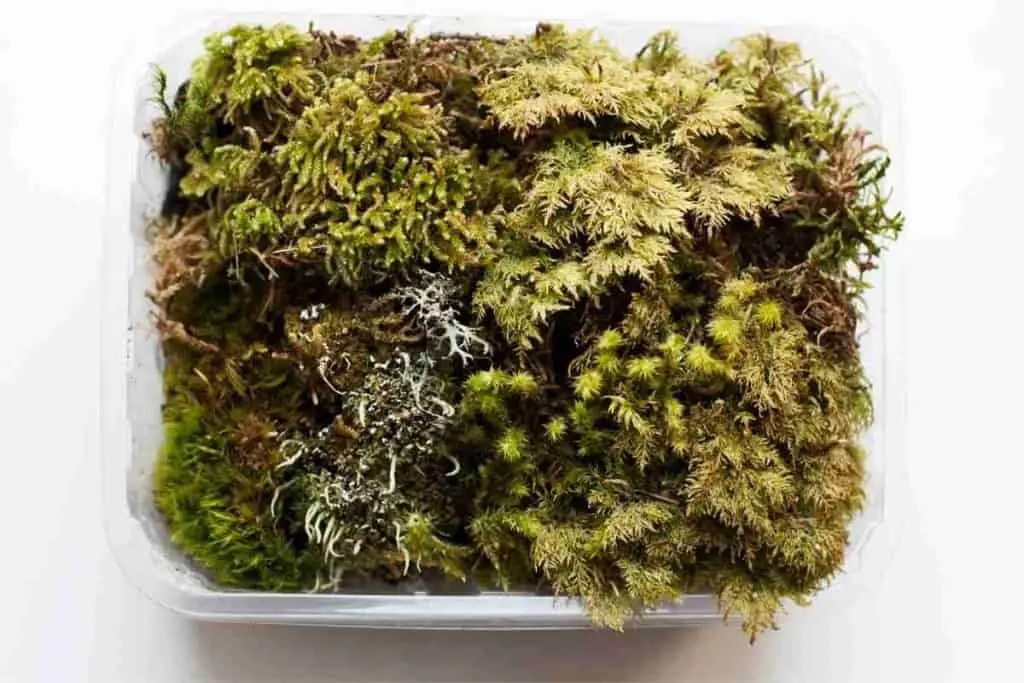
The first step is to place the moss in a plastic tub. It can be any container you have lying around as long as it has a lid. You can then create a base at the bottom of the tub with bits of rotten bark and small pebbles, however, this is completely optional.
Once you’ve done this place a large number of moss spores (a handful of moss should be plenty) in the bottom of the tub. You can either use a moss fork or your hands to do this.
Now, it’s time to add some liquid fertilizer. This will help the moss to grow and thrive. Simply mix it together in a spray bottle with some water and give the moss a good soaking.
Then place the tub in a location where it will get plenty of light. A windowsill is usually a good spot. You should mist the moss with water daily, using a spray bottle “but” don’t overwater or the moss can rot!
Within a few weeks, you should start to see new growth! Once the moss has colonized the surface of the plastic, it can then be carefully removed and transplanted if that’s your desire!
You May Also Like To Read:
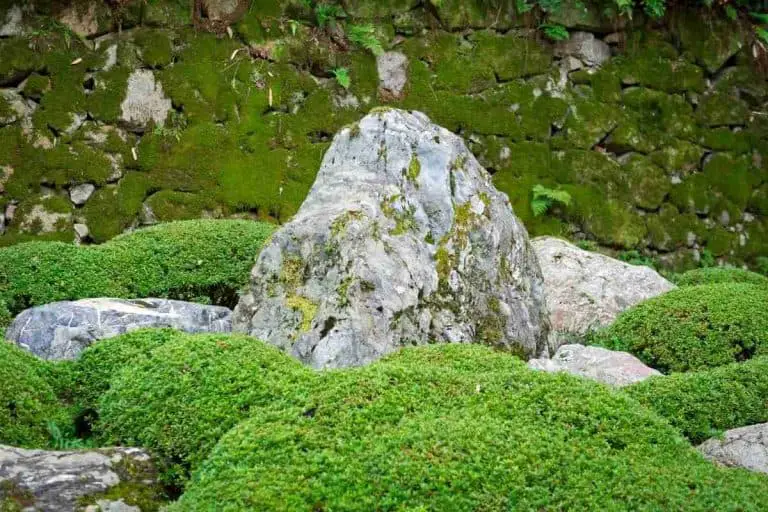
6. Growing Moss On Granite
Granite is extremely popular for landscaping and paving in people’s homes! However, there are some who like to add a touch of moss to their granite to give it a more natural look.
The method is very similar to concrete, however, you will need to roughen up the surface of the granite before applying the moss.
This can be done with a wire brush or even sandpaper. If you prefer not to do this you can use the yogurt trick! So it sticks to the granite!
You also need to think about the type of moss you are using. If the granite in your garden is always in full sunlight and provides very little shade then you need to pick a moss that can handle these conditions.
If the granite is in a shady area then you can use any type of moss really. The method for applying the moss to granite is very straight forward just follow the steps below!
To Grow Moss On Granite, You Will Need:
- A Wire Brush or Sandpaper
- Buttermilk Or Yogurt (Optional)
- Some Moss Spores
- Fertilizer Solution
- Spray Bottle (Optional)
Directions To Apply Moss To Granite:
- Roughen Up The Surface (Optional)
- Dampen The Surface Of The Granite
- Place The Moss ON The Granite
- Spray It With A Fertilizer Solution
- Water Daily Of Needed!
You may have noticed that the spray bottle is optional and this is because the granite is most likely in your garden which means the moss can collect rainwater. However, if you live in a dry climate that obviously water it.
The first step (which again is optional) is to roughen up the surface of the granite. You can do this with a wire brush or even sandpaper. If you prefer not to do this you can skip to the next step.
Now that the surface is prepared it’s time to dampen it. This can be done with water from a spray bottle or simply by using a cloth to wipe down the granite.
Once the surface is damp it’s time to place the moss on the granite! You can either use your hands or a moss fork for this. Be sure to press down lightly so that the moss makes good contact with the granite.
After all of the moss is in place, give it a good soak with some fertilizer solution then water it daily if needed and keep an eye on it!
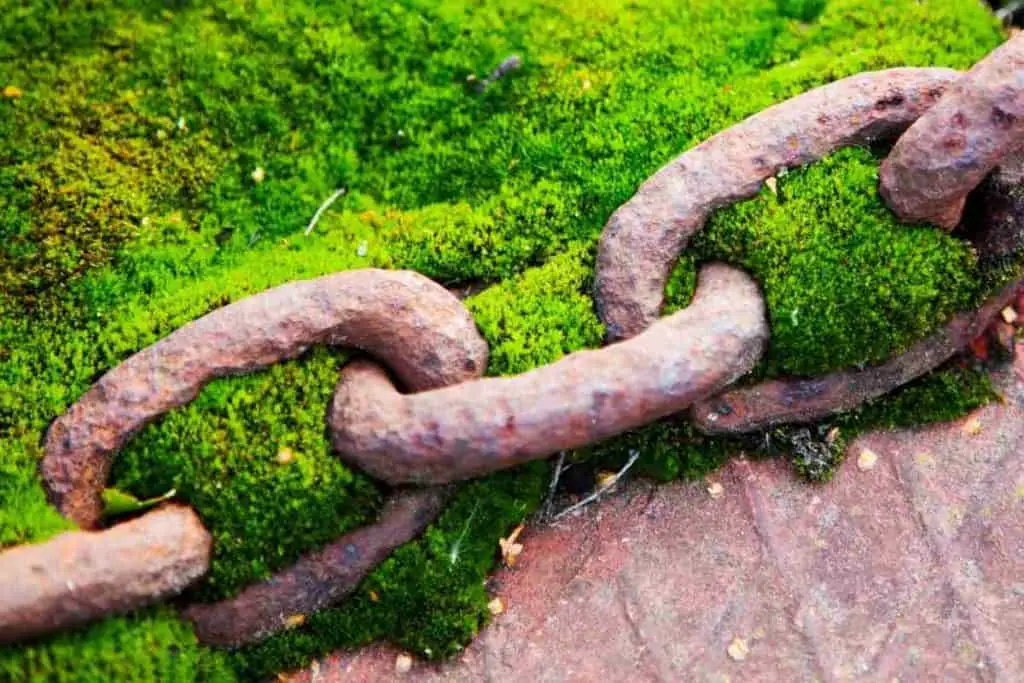
7. Growing Moss On Metal
When most people think of moss, they don’t usually think of metal. However, with a little creativity and some TLC, you can grow moss on metal surfaces!
One thing to keep in mind when growing moss on metal is that not all types of moss will work!
The type of moss we recommend is called ‘Felt Moss’ or ‘Sheet Moss’.
This type of moss is very easy to work with and attaches itself well to smooth surfaces like metal.
It’s also very versatile and can be used in a variety of different ways!
However, because metal is smooth we will be using the same method as glass. So as before just follow the steps laid out below!
To Grow Moss On Metal, You Will Need:
- Some Felt Moss or Sheet Moss
- Buttermilk Or Yogurt
- Fertilizer Solution
- Paint Brush
- Spray Bottle
Directions To Apply Moss To Metal:
- Place The Metal On A Flat Surface
- Mix The Moss With Buttermilk Or Yogurt
- Spread The Moss Over The Metal
- Mist It With A Fertilizer Solution
- Water Daily Of Needed!
To start, laid the metal down on a flat surface. This will make it easier to work with and will also prevent the moss from sliding off. Now, take the moss and mix it with some buttermilk or yogurt. This will help the moss to attach itself to the metal.
Once the moss is mixed, spread it over the surface of the metal using a paintbrush. Be sure to cover all of the desired areas!
After the moss is in place, give it a good misting with a fertilizer solution then water it daily if needed.
This is a lengthy process, so you will need some patience and make sure you do this indoors just in case it rains and washes off the moss.
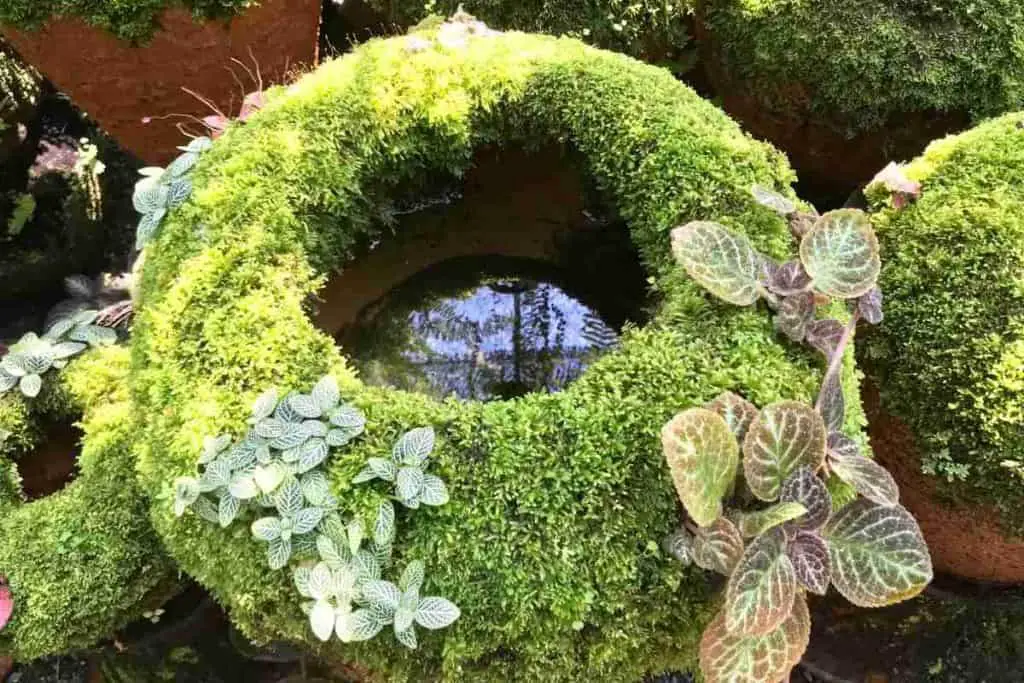
8. Growing Moss On Rubber
Do you have a favorite rubber object that’s seen better days? Don’t throw it away just yet! With a little effort, you can grow moss on rubber and give it new life.
While it may not seem like the most natural place for moss to grow, with a little care and patience, you can have a thriving green garden growing on your old rubber boots or tires.
This will definitely add a unique look to your garden! that will catch people’s eyes.
Any type of moss should work as long as it grows in an area with some shade and not too much direct sunlight.
If you’re growing the moss inside a rubber tyre then you don’t need to worry about direct sunlight as the tyre itself should provide enough shade.
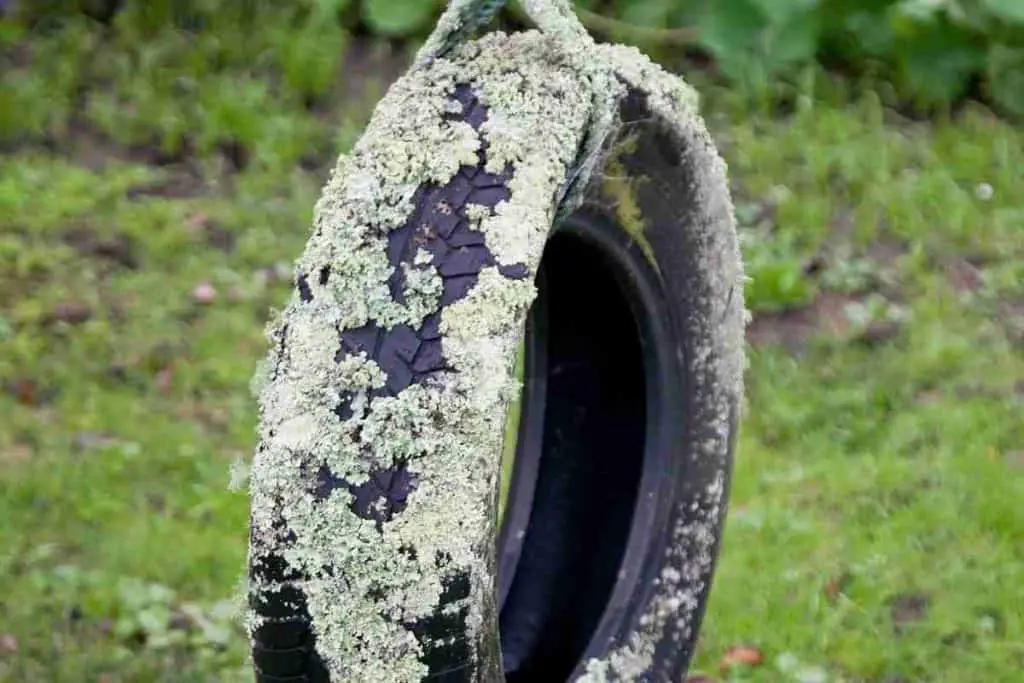
However, you should drill some holes in the tyre so the water can drain out when it rains. If your are growing moss on the outside on a flat surface then you don’t need to worry about this!
To Grow Moss On Rubber, You Will Need:
- A Tool To Drill Holes (Optional)
- Moss Spores
- Fertilizer Solution
- Spray Bottle
Directions To Apply Moss To Rubber:
- Drill holes Inside The Tyre (Optional)
- Lay Down A Handful Of Moss
- Mist It With A Fertilizer Solution
- Water Daily Of Needed!
To get started, Pick what rubber object you would like to grow moss on. If it’s a flat surface don’t worry about drilling holes!
Next, rinse the rubber with some water so it’s damp, and then lay down a handful of moss spores over the desired area. You can use your hands but you might want to put some gloves on first.
After all of the moss is in place, give it a good soak with some fertilizer solution then water it daily if needed. Just be sure to keep an eye on it so that the moss doesn’t wash away or ROT!
Take Note: If you dont have an old tyre then dont worry! You can use this method on any rubber surface not just tyres!
9. Growing Moss On Soil
Because of its ability to thrive in shady areas, moss is often used as a ground cover in gardens. It’s especially useful in areas where grass won’t grow well, leaving just the soil.
Moss is very useful for situations like this! If you have an area of your garden where the soil is bare and it doesn’t seem to be growing anything, you can easily grow moss there.
There are usually a number of reasons why nothing is growing in that spot. But, mainly it’s because of the pH level of the soil.
Since moss has rhizoids instead of roots they don’t need to be planted in the ground.
This means that it doesn’t matter if the soil is healthy or not! They can still survive!
The best moss to use for this type of project is the common “green carpet moss” that spreads out like a carpet (getting its name carpet moss).
To Grow Moss On Soil, You Will Need:
- Green Carpet Moss
- Fertilizer Solution
- Watering Can Or Hose
Directions To Apply Moss To Soil:
- Lay Down Some Carpet Moss
- Add Some Fertilizer Solution
- Water Daily Of Needed!
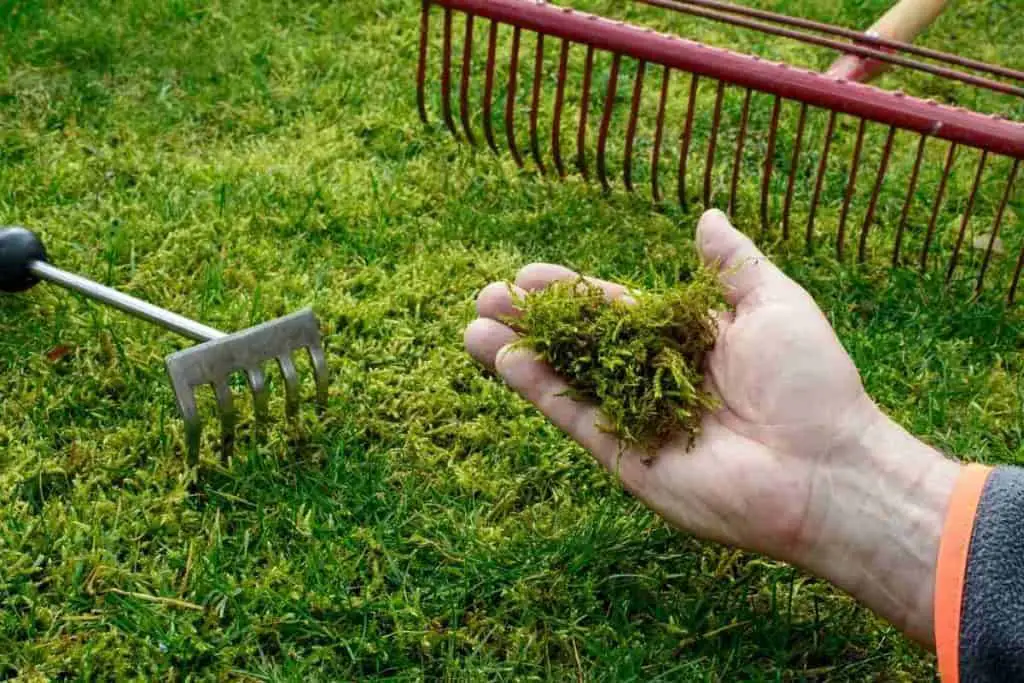
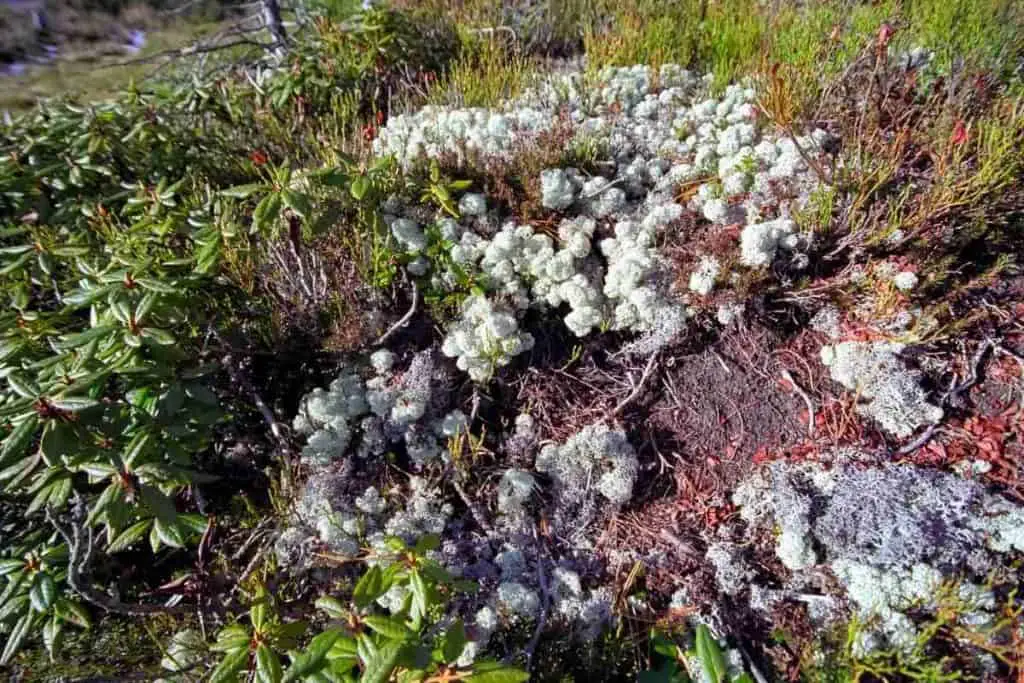
Top Tip: If you don’t have or are unsure where to get carpet moss you can easily find this moss growing on woodland floors! If you know of any dense forests near you then take a walk and see if you can find some growing on the ground.
Once you have collected some moss, gently remove it and place it in the spot where you want it to grow.
If transplanting moss isn’t your thing then you can also purchase moss spores online or at your local gardening store. Be sure to get green carpet moss!
Next, add some fertilizer solution to the water and give the moss a good soak. Water daily if needs it! but be careful not to overwater!
You May Also Like To Read:
10. Growing Moss On Tiles
Now, this might sound strange growing moss on tiles since many people want to remove it. However, some people do indeed decorate their roofs with moss.
But, it doesn’t have to just be a roof! Tiles are used for many things such as tables, floors, walls, and even ponds, and adding moss can be a beautiful addition to any of these places.
To grow moss on tiles is fairly straightforward, but there are different types of tiles that have different textures!
Some tiles have a rough surface while others have a smooth surface.
We would say if you have smooth tiles follow the buttermilk or yogurt method, in surface 4 glass. But, if you have rough tiles then keep reading!

To Grow Moss On Tiles, You Will Need:
- Moss Spores
- Fertilizer Solution
- Watering Can Or Hose
- Some Patience
Directions To Apply Moss To Tiles:
- Lay The Tile On A Flat Surface
- Place The Moss On The Tile
- Add Some Fertilizer Solution
- Water Daily Of Needed!
Assuming you have rough tiles, the first thing you dampen the tiles with some water. Once the tiles are wet, sprinkle moss spores over the desired area.
After all of the moss is in place, give it a good going over with some fertilizer solution this will give a boost in growth.
Remember, to water the tiles daily, but it rains a lot where you live then there is no need. Just sit back and be Patience!
11. Growing Moss On Plant Pots
If you’ve ever wanted to add a touch of class to your potted plants, then moss is the way to go. It’s easy to grow and care for, and it really makes your pots look like they’re straight out of a professional greenhouse.
Plus, it’s surprisingly therapeutic to watch those little green specks start to sprout and spread. So if you’re feeling a bit down in the dirt, why not give growing moss a try?
Moss is a great way to cover up the soil in your plant pots and give them a natural look.
It’s also really easy to care for, and it doesn’t require a lot of maintenance.
But, what’s really impressive about this option is that moss is actually good for potted plants!
This is because the moss absorbs and retains the water and nutrients, which helps keep the roots of your plants healthy and hydrated.
When starting out it’s a good idea to take the pots inside a greenhouse! After all, you don’t want the moss to be washed off by the rain. This is just until the moss has taken root then you can take it back outside.
To Grow Moss On Plant Pots, You Will Need:
- Moss Spores
- Buttermilk Or Yogurt
- Fertilizer Solution
- Paint Brush
- Spray Bottle
Directions To Apply Moss To Plant Pots:
- Break To Moss Into Small Peices
- Mix It With The Buttermilk Or Yogurt
- Apply The Moss To The Plant Pots
- Spray With Fertilizer
- Water Daily (If Needed)
To start, you want to break the moss into small pieces and mix it with either buttermilk or yogurt, anyone will do! Just so the moss can stick to the plant pots. Once you’ve got good coverage of moss, use a paintbrush to apply it to the pot.
Make sure that you get good coverage all around the pot, especially around the sides. Once you’ve got a nice layer of moss, mist it with a fertilizer solution. Be sure to water it daily, especially if it’s indoors!
And that’s all there is to it! With just a little bit of effort, you can have beautiful Moss Pots that are healthy for your plants and look great too!
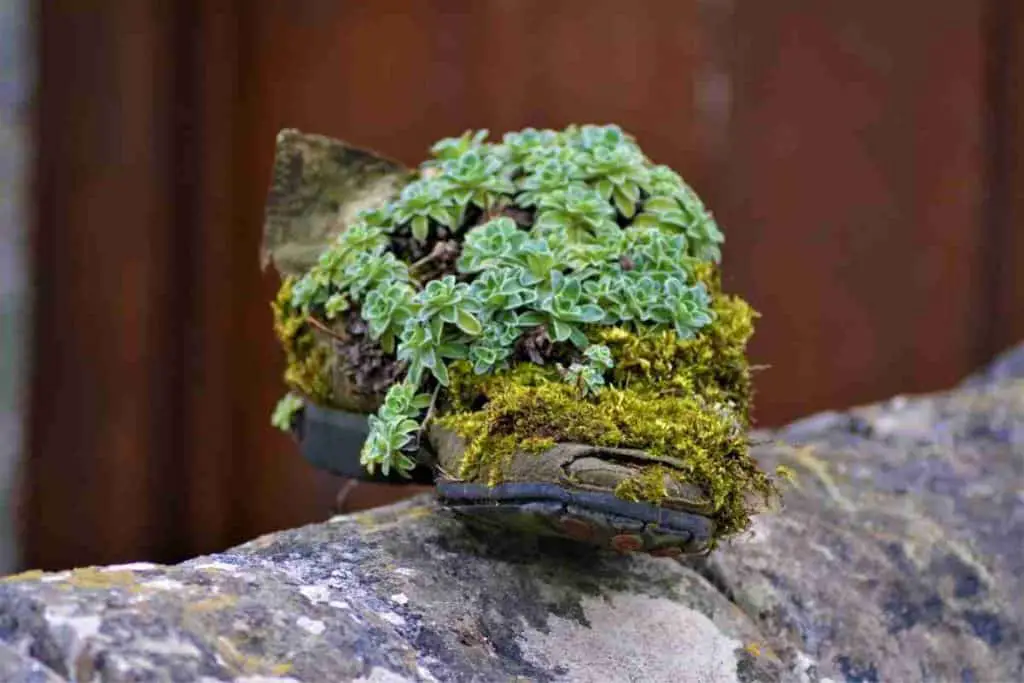
12. Growing Moss On Fabric
Now, this one might sound really strange growing moss on fabric, but trust us, people use fabric in their gardens all the time! Items like old shoes or boots have fabric on the outside, which is a perfect place to grow some moss.
If this is your first time your best option would be to try this on a pair of old boots and then repeat the process with other types of fabrics.
You can use any type of garden moss on fabric as long as you provide it with enough light and moisture.
If you want to grow moss on a jacket or another type of clothing, make sure they are damp before adding the moss.
You will also need to use a fertilizer solution to give it a kick start in growth.
To Grow Moss On Fabric, You Will Need:
- Moss Spores
- Fertilizer Solution
- Spray Bottle
Directions To Apply Moss To Fabric:
- Pour Some Water Over The Shoe
- Place The Moss On Top Of Fabric
- Spray With Fertilizer
Before you add the moss make sure you pour water over the entire shoe. Then once the surface is wet, lay the moss over the top, or if you have pieces sprinkle moss spores over the desired area.
After all of the moss is in place, give it a good going over with some fertilizer solution this will give it a boost in growth.
Make sure you water the moss a good misting of water every day just until it’s established.
Now that we’ve gone over how to grow moss on 12 different surfaces, it’s time to get started! Just remember to be patient and make sure you follow the directions closely – before you know it, your plants will be looking better than ever!
You May Also Like To Read:
General Tips When Growing Your Moss
To finish off this article we just wanted to add some general tips just to help you along when you’re first starting out.
Choose The Right Type Of Moss
The first thing is choosing the right moss! Many people who try this for the first time fail and this is because they were using the wrong type of moss. For example, if your using moss in full sunlight and it’s a shaded moss then it will die.
Moss Needs Plenty Of Moisture
Another thing to remember is that moss needs a lot of moisture in order to grow. If you live in an area with low humidity, then you will need to water it more often. On the other hand, if you live in a humid climate, you won’t have to water as much.
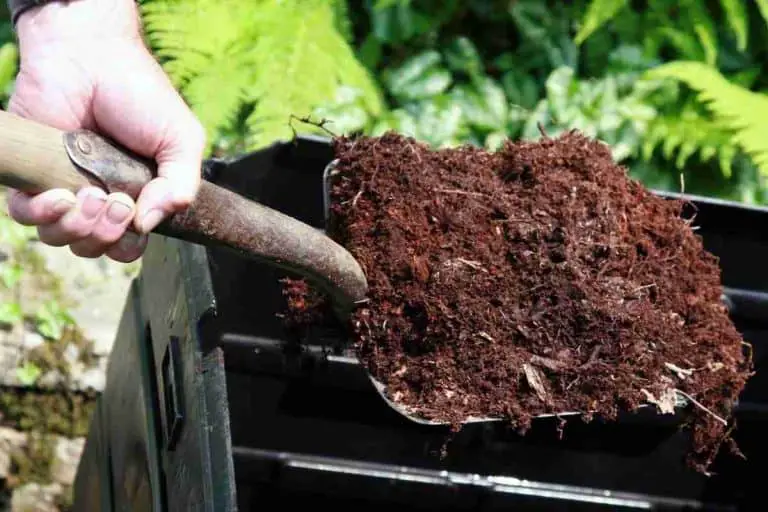
Fertilize The Moss
Make sure you fertilize at the start just to help it along with its growth. You can use a liquid organic fertilizer or compost tea would work great too! Once the moss takes hold you can stop using fertilizer and just use water.
Trim Off The Moss Regularly
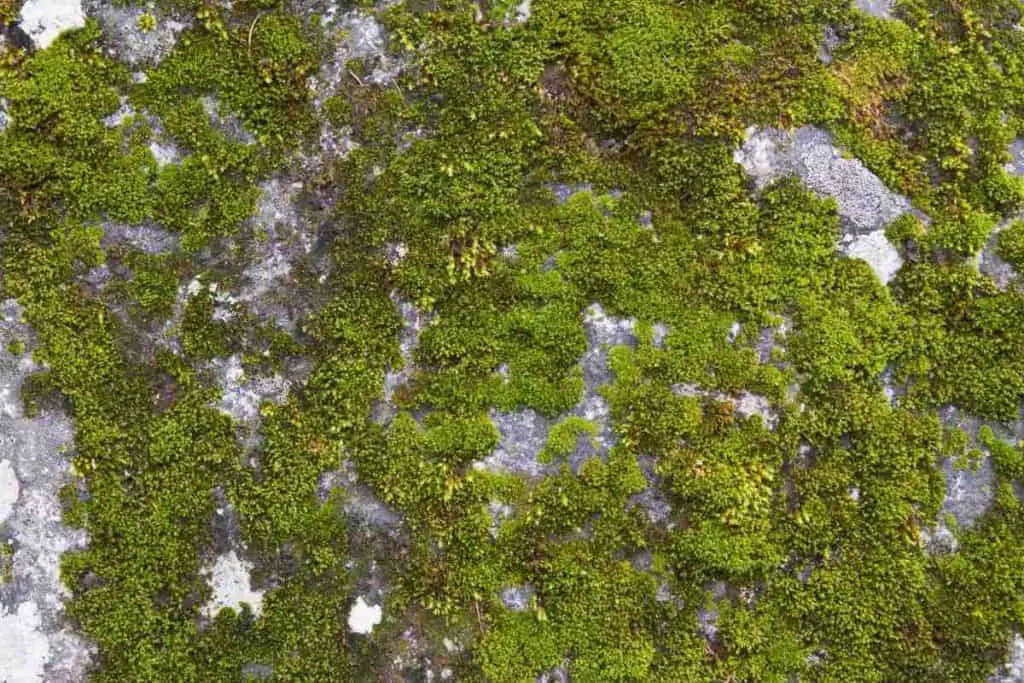
This is especially important when you’re growing moss on rocks or other hard surfaces. If you don’t trim it off, the moss will start to take over and can actually kill the plants. Make sure you use sharp scissors to do this – just be careful not to cut too deep into the surface.
Final Thoughts
So there you have it! We hope you found this article helpful and that it gives you the confidence to get out there and start growing!
With these tips in mind, we wish you all the best with your moss gardening! And remember, if at first, you don’t succeed – just, try again!
You May Also Like To Read: